
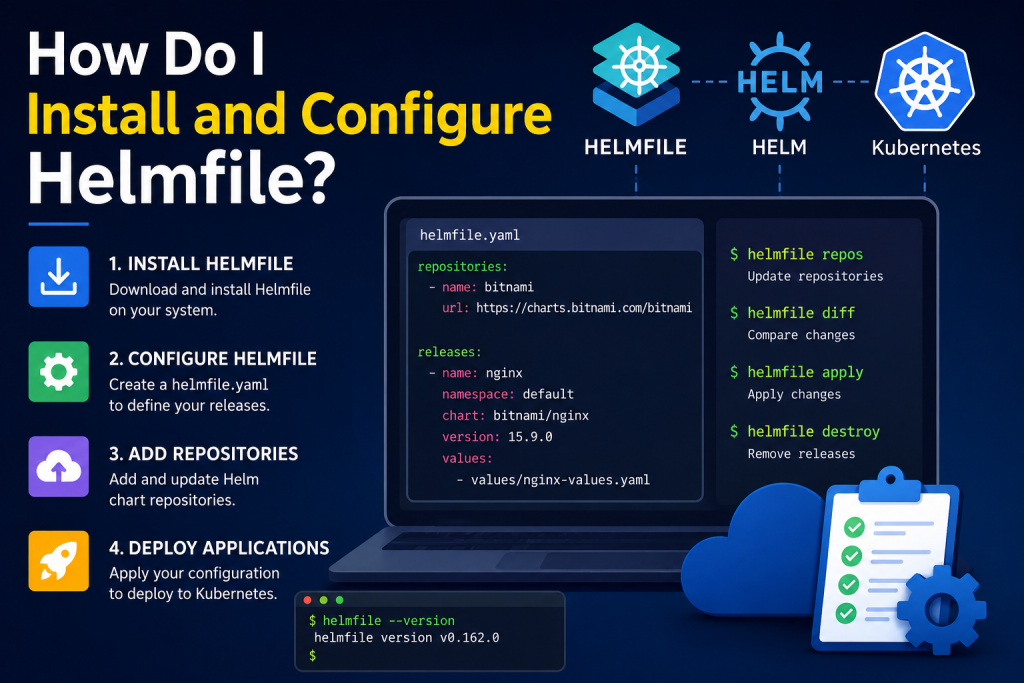
Managing multiple Helm charts in Kubernetes can become complex as applications and environments grow. Helmfile simplifies this process by allowing you to define and manage all your Helm releases using a single declarative configuration file. Whether you’re a DevOps engineer, Kubernetes administrator, or developer, learning how to install and configure Helmfile can save time and reduce deployment errors.
In this guide, you’ll discover the step-by-step process for setting up Helmfile, creating your first configuration, managing environments, and deploying applications efficiently. By the end, you’ll be ready to streamline your Kubernetes workflows with confidence.
Read More: What Is a helmfile.yaml File?
What Is Helmfile?
Helmfile is an open-source tool that helps Kubernetes users manage collections of Helm charts declaratively. Instead of running numerous Helm commands manually, Helmfile allows you to describe your desired state in a YAML file. It then ensures your Kubernetes cluster matches that configuration.
Helmfile is particularly useful for teams working with multiple environments, such as development, staging, and production. It reduces repetition, improves consistency, and makes deployments easier to maintain.
Why Use Helmfile?
Helmfile offers several advantages over managing Helm releases individually. It enables you to define all Helm releases in one place, making your infrastructure easier to understand and control. It also supports environment-specific configurations, dependency management, and automated synchronization.
By using Helmfile, you can streamline deployments, minimize human errors, and improve collaboration within DevOps teams.
Prerequisites Before Installing Helmfile
Before installing Helmfile, ensure that the following requirements are met:
- A working Kubernetes cluster
- Helm installed on your system
- Access to a terminal with administrative privileges
- A configured
kubectlcontext pointing to your cluster
Once these prerequisites are in place, you can proceed with the installation.
How to Install Helmfile
The installation method depends on your operating system.
Installing Helmfile on Linux
You can download the latest Helmfile binary and place it in your system’s executable path. Many Linux users prefer using package managers or installation scripts provided by the Helmfile project.
After installation, verify it by running:
helmfile --versionIf the command returns the installed version number, Helmfile has been installed successfully.
Installing Helmfile on macOS
macOS users can install Helmfile using Homebrew with the following command:
brew install helmfileOnce the installation completes, confirm it by checking the version:
helmfile --versionInstalling Helmfile on Windows
Windows users can install Helmfile through package managers such as Chocolatey or Scoop.
Using Chocolatey:
choco install helmfileAfter installation, verify that Helmfile is accessible from the command line.
Creating Your First Helmfile Configuration
Helmfile uses a file called helmfile.yaml to define Helm releases. A basic example looks like this:
repositories:
  - name: bitnami
    url: https://charts.bitnami.com/bitnami

releases:
  - name: nginx
    namespace: default
    chart: bitnami/nginx
In this configuration:
- The
repositoriessection defines the Helm chart repositories. - The
releasessection specifies the applications you want to deploy.
This simple structure forms the foundation of Helmfile management.
Adding Helm Repositories
Before deploying charts, Helmfile needs access to the repositories containing them.
Run the following command:
helmfile reposThis updates and adds the repositories specified in your helmfile.yaml file.
Keeping repositories updated ensures that Helmfile retrieves the latest chart versions available.
Deploying Applications with Helmfile
To apply the configuration and deploy your releases, execute:
helmfile applyThis command compares the desired state defined in the Helmfile against the current cluster state. If differences exist, Helmfile performs the necessary updates.
If you only want to preview the changes before applying them, use:
helmfile diffThis approach helps prevent unintended modifications in production environments.
Managing Multiple Environments
One of Helmfile’s strongest features is its support for environments.
You can define separate values for development, staging, and production environments:
environments:
  development:
    values:
      - dev-values.yaml

  production:
    values:
      - prod-values.yaml
Deploying to a specific environment becomes straightforward:
helmfile -e development applyThis flexibility allows organizations to maintain consistent deployment practices across multiple stages of their application lifecycle.
Updating Existing Releases
As applications evolve, updates become necessary. Helmfile simplifies upgrades through the same declarative workflow.
After modifying the chart version or values in helmfile.yaml, run:
helmfile applyHelmfile automatically determines what needs to change and performs the update process accordingly.
Deleting Helm Releases
If a release is no longer required, Helmfile can remove it from the cluster.
Execute:
helmfile destroyThis command deletes all releases defined in the Helmfile configuration. Because it can significantly impact your environment, review the affected releases carefully before proceeding.
Best Practices for Helmfile Configuration
To get the most out of Helmfile, consider following these best practices:
Keep environment-specific values in separate files to improve organization and readability. Store Helmfile configurations in version control systems such as Git to track changes over time. Use helmfile diff before applying updates, especially in production environments. Additionally, document your deployment process so team members can understand and maintain the setup efficiently.
These practices contribute to more reliable and manageable Kubernetes operations.
Common Troubleshooting Tips
If Helmfile commands fail, verify that your Kubernetes context is correctly configured by checking your kubectl settings. Ensure Helm repositories are accessible and updated. Review syntax errors within helmfile.yaml, as even small formatting mistakes can prevent successful execution.
Examining command output carefully often provides valuable clues for resolving issues quickly.
Conclusion
Installing and configuring Helmfile is a practical step toward simplifying Kubernetes application management. By providing a declarative approach to Helm releases, Helmfile helps teams organize deployments, manage multiple environments, and reduce operational complexity.
Whether you’re managing a handful of services or an extensive Kubernetes ecosystem, Helmfile can improve consistency and efficiency throughout your deployment workflow. Once you become familiar with its configuration structure and commands, Helmfile becomes an indispensable part of modern DevOps practices.